So, with bike weather around the corner I started getting the itch to get the bike moving forward (no pun intended).
I took it out of the shed and gave it the once-over. A little flash rusting on the tailpipes, expected. Battery dead, expected. Tires both flat, expec... what the hell? I replaced BOTH of them, plus the bands, plus the tubes, why in the world are they flat already? Well, I pumped them both back up and checked the valve stems. They both seemed looser than they should be so I tightened them up, we'll see if that helps them hold air.
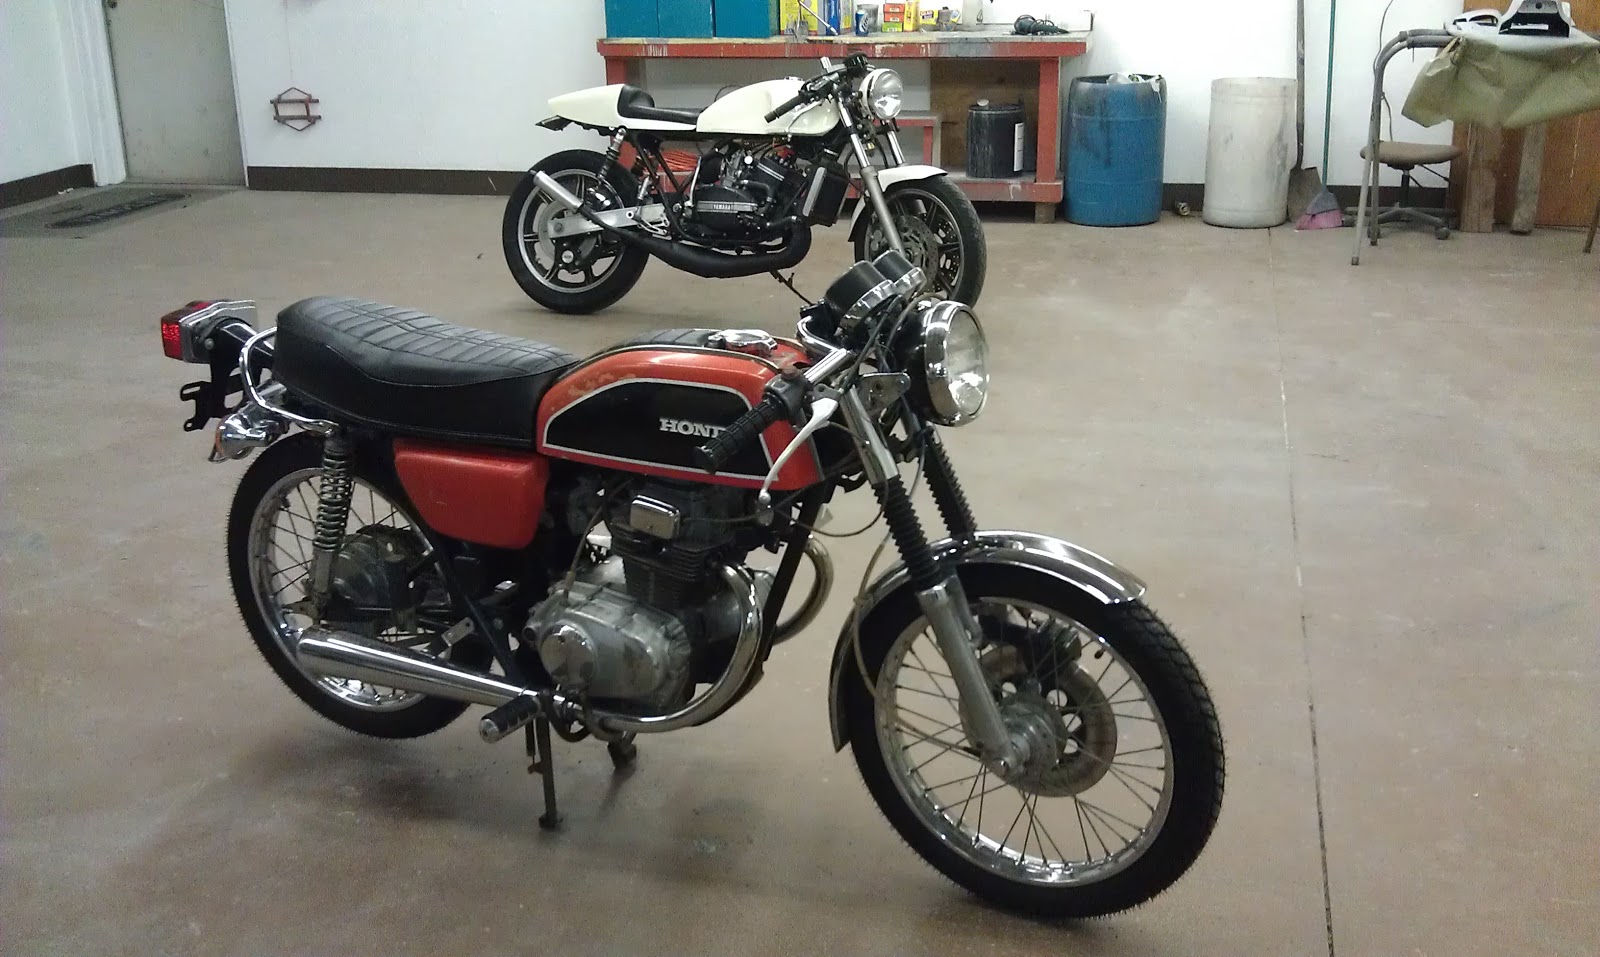
I met up with some friends locally and trailered the bike to the auto body shop it was being held at. It's a bit chilly out so a nice clean shop with a tornado heater is an excellent place to sit, have a few beers, bullshit and work on the bikes. Mine was the first one to show, looking all cute then Mark rolls in making mine look like some dork with horn rimmed glasses. His is the white one in the background, obviously.
After a bit we start looking at my bike, walking around it, accessing it, seeing what needs to be done. My top two picks were fixing the kickstarter and getting the carbs working well. It was obvious that we weren't going to be able to get a ton done because come to find out in order to replace the kickstart shaft we'll have to split the engine case. Much too big a job for this time of night. So, we turned our attention to the electric starter which was also failing.
Mark said that there were bearings in the stator that are pushed out by springs and if the springs get too worn or the bearings to slick they won't grab the generator, causing it not to start. So, off with the cover:

Next he removed the stator and we all just took a peek at what was going on:

After it was back in and the bearings roughened up she started right up! I was shocked! Granted, she wouldn't stay running but given what I knew about the carbs I wasn't shocked by that. So, back on the trailer and back in the shed until the following weekend.
Next up, time to fix that leaking petcock. I needed to get to the local parts shop quick. Like, they're closing in 30 minutes quick. I pulled the tank and poured the fresh gas into a bucket, that's when I saw.... this.

The tank was obviously rusting inside, the old sealant wasnt doing it's job and there was so much sediment in the gas there was no way the petcock would let gas pass for much longer and what it did let through, the carbs would choke on. This isnt good at all.
I took the petcock apart and noticed a LOT of buildup inside the primary feed tube. Cleaned it all out, replaced the gasket behind the lever, cleaned out the bowl, everything I could. I also used green Loc-Tite on the one brass tube that was falling out when I pulled the gas lines off. So, while I haven't tested it, it should be working pretty well.
While I was out buying the gasket for the petcock, the local shop had an extra POR15 tank sealant kit they let me have for $25. That's fifty percent off! I took that and headed home. I took the tank to the car wash and hit it with the pressure washer. A lot of sediment came out and I also noticed little pieces of the old Kreem tank sealant coming out. This is going to be a problem. The pressure washer at the car wash wasnt doing the job so I took it to my parents' house and hit it with the gas powered pressure washer. This time a lot of the sealant came out along with rust and chunks of garbage. After getting it home I used a wire hanger to grab any of the old sealant I could get to through the gas filler hole. You can see some of what I removed here. Notice the large piece is the same shape as the side of my gas tank. Also, notice how much rust is on the back of the sealant.

Another step in the process involved different chemicals and then thoroughly drying it. So, I rigged up a heater and a box to funnel the hot air into the tank making it bone dry throughout the day.

After pouring in the sealant, I used the same idea with a fan (no heat) and a plastic bag as the funnel.

I have to wait at least 96 hours before filling the tank, so, we'll see you then!
No comments:
Post a Comment